|
You may have noticed thus far that your Photoshop work is saved with a .psd extension. This mean that they are Photoshop working files. These types of files usually cannot be used practically - on the Web and such. If we want to use them elsewhere, we need to change into a different format. Typically, we save them as .jpg or .gif files. So today, let's do that.
0 Comments
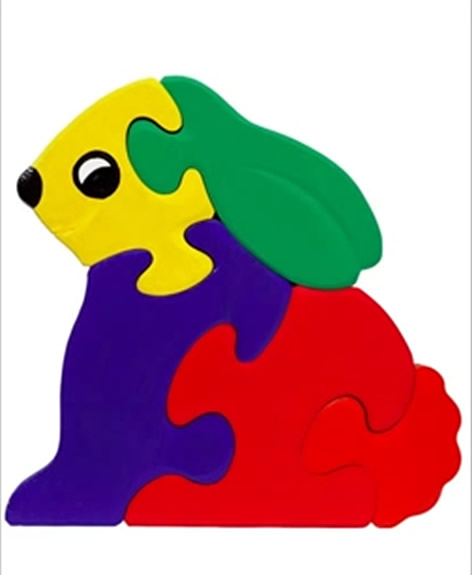
Download this file and open it in Photoshop. Use the Magic Wand tool to change all of the colors of the rabbit. Crank up your tolerance if you need to. Make sure you change the white background to a different color as well. Ya' about 7 minutes to get 'er done.
Day 1
We're going to working on this tutorial today: http://www.photoshopessentials.com/basics/selections/transform-selection/ Here is the image you will use : butterfly (save the image into your photoshop folder and open in Photoshop to work on it) Day 2 A Quick Quiz: Turn this image into something like this image. Use the skills you learned yesterday (I used the polygon lasso tool to select and I adjusted the hue/saturation on the background layer) to complete the image. Make sure you adjusting the stroke/drop shadow on your selection area. Today's files: geo1 geo2 geo3 http://www.youtube.com/watch?v=MW1sBeDlzEI We're going to work through a couple of video tutorials today. (You can access these at home, if you like.) We'll start a short project as well. Tutorials:
http://www.youtube.com/watch?v=uUv7fhXot7I http://www.youtube.com/watch?v=ACed8qlThFE&feature=relmfu http://www.youtube.com/watch?v=sMjzQn1KFuw&feature=relmfu Today's files: Color Bunny Warm up quiz: Download and open the "hawk" image in Photoshop.
You're going to do with this image the same thing you did with the "bizman" image... Select the hawk from the image using a lasso or quick selection tool and use Hue & Saturation (Adjustments tab) to change it's color. Invert the mask to change the green background to a different color. Raise your hand when finished. Do your own work - no helping! hawk Day 2
We're going to practice using the quick selection tool in Photoshop to change the background of this image - bizman. Download it into your Photoshop folder and open it in PS. http://www.youtube.com/watch?v=5d_8SOfzxw8 Bizman steps -
Download the following two images into your Photoshop folder. (If you don't have a Photoshop folder, then create one inside your personal folder.) statue clouds
Here is a file to play with - chess. Create the same effect that you used with the bizman above.
Hey Gang-
We're beginning our multimedia odyssey with some exploration into "static images". Remember that images (or pictures) can either be "dynamic" (or moving) or "static" (not moving). To work on, or edit, these static images, we're going to use the state-of-the-art graphic editing application, Photoshop. To get started, I have provided a link to a series of short tutorials that you will work through. To open Photoshop: Go to Start > All Programs > Adobe Design and Web Premium CS6 > Photoshop (64 bit) Follow this link: Beginners' Guide to Adobe Photoshop. Go ahead and start there. The tutorial is short and simple and will get you started. (You can skip the part about preferences - don't skip the part about creating a new image!) Make sure you READ and FOLLOW the instructions as given. If you get stuck on a step - ask! |
Welcome!We're going to learn a lot of great stuff this year! Archives
April 2019
Categories |
 RSS Feed
